Four Plumbing Upgrades to Boost Your Home’s Value
If you’re looking for a way to increase your home value, there are several upgrades a plumber in Tucson, AZ, can make to your home that won’t cost you a significant amount of money. Many homeowners don’t realize that plumbing upgrades significantly increase home value. From installing new fixtures and new pipes to improving your water quality, these changes can make your home much more valuable and more enjoyable to live in.
Four Plumbing Upgrades a Plumber in Tucson, AZ Can Complete To Boost Your Home’s Value
1. Tankless Water Heater Installation
Tankless water heaters are energy-efficient appliances that heat water quickly, create more space in utility closets, and increase home value. With a tankless water heater, you’ll have lower utility bills since it won’t have to work as hard as a traditional water heater, and you’ll have endless hot water. These water heaters also last up to ten years longer than traditional water heaters and require less maintenance.
Read the rest of this entry »Plumbing may not be the first thing that comes to mind when you think of sustainability, but in southern Arizona, even small upgrades can greatly impact the environment. Check out this handy guide to eco-friendly plumbing options for southern Arizona homes from Economy Plumbing Service LLC in Tucson, AZ, before you plan your next remodeling or repair project.
Eco-Friendly Plumbing Choices To Save Water
Upgrade Plumbing Fixtures
One of the simplest and most cost-effective ways to increase the eco-friendliness of your home plumbing systems is to switch to low-flow fixtures. A regular shower head uses about 2.5 gallons of water per minute. That’s 25 gallons for a five-minute shower.
Fixtures with WaterSense approval use no more than two gallons per minute, with many of them using even less. So, swapping your regular shower head out for a WaterSense labeled model will cut water usage for showering by at least 20%. A typical four-person household might expect to save 20 gallons a day with this simple swap.
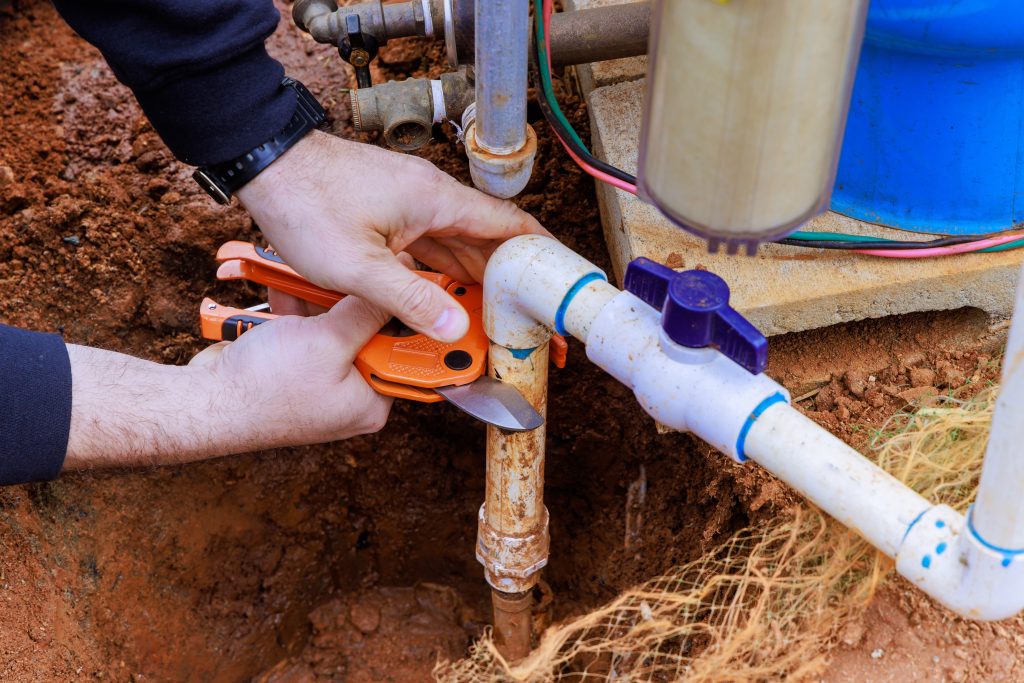
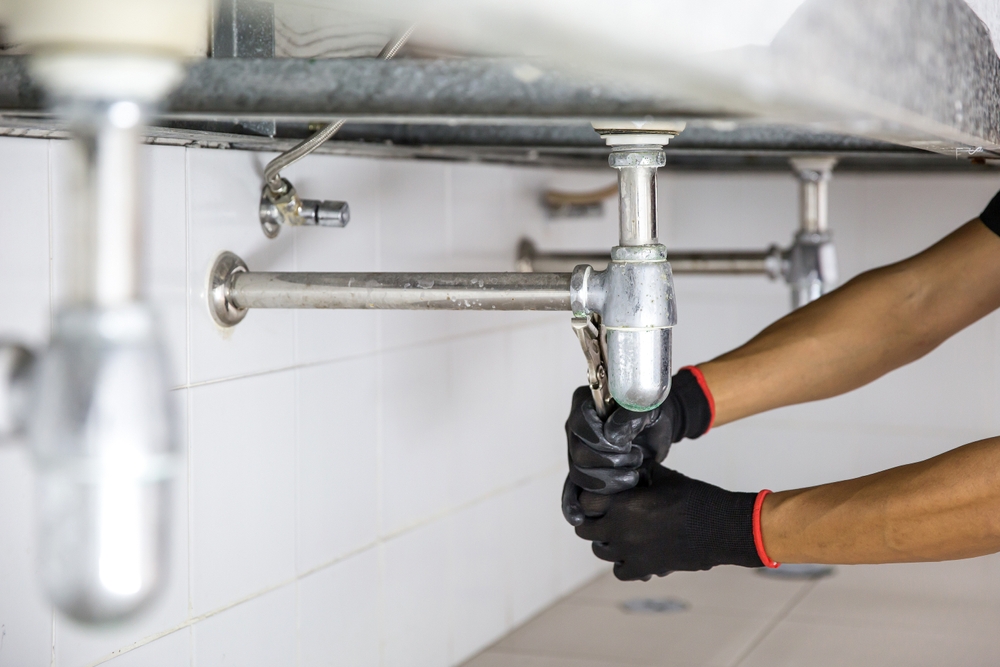
Read the rest of this entry »A slow leak can cause significant damage to your home and require costly repairs. If you suspect any type of leak, whether under your floors, in your ceilings, or your walls, you’ll need a professional leak detection service in Tucson, AZ, so that the professionals can identify the source of the water and remedy the situation. The sooner you contact a company, the faster you can stop the leak and restore your home.
Four Signs You Need a Professional Leak Detection Service in Tucson, AZ
1. You’ve Noticed Increased Water Bills

If you’ve noticed an increase in your monthly water bills yet haven’t used any more water than usual and haven’t seen any drips coming from your faucets or showerheads, you may have a leak somewhere in your home that’s causing those increased utility bills.
If you don’t want to wait another month to monitor your water usage and your utility bills, make an appointment with a company that specializes in finding leaks so that you can address the issue, avoid water waste, and save money.
Read the rest of this entry »
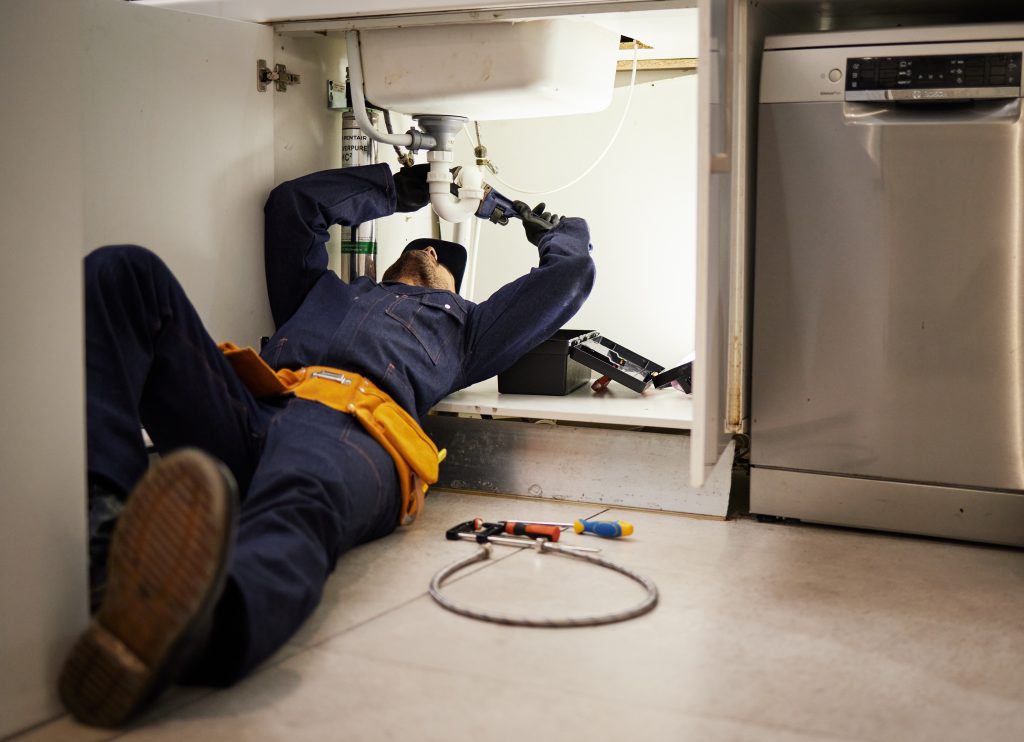
Plumbing is one of the most essential yet overlooked systems in a home. Many homeowners in Tucson, AZ, only think about their plumbing when something goes wrong, but by then, minor issues may have turned into costly repairs. From leaking pipes to clogged drains and neglected water heaters, small plumbing problems can quickly escalate into expensive emergencies.
The key to avoiding these financial pitfalls is regular plumbing maintenance. A proactive approach can prevent costly water damage, extend the lifespan of appliances, and help homeowners avoid the stress of unexpected breakdowns. In this guide, we’ll break down the hidden costs of neglecting plumbing maintenance, common plumbing issues in Tucson, and practical tips to keep your system running efficiently.
Read the rest of this entry »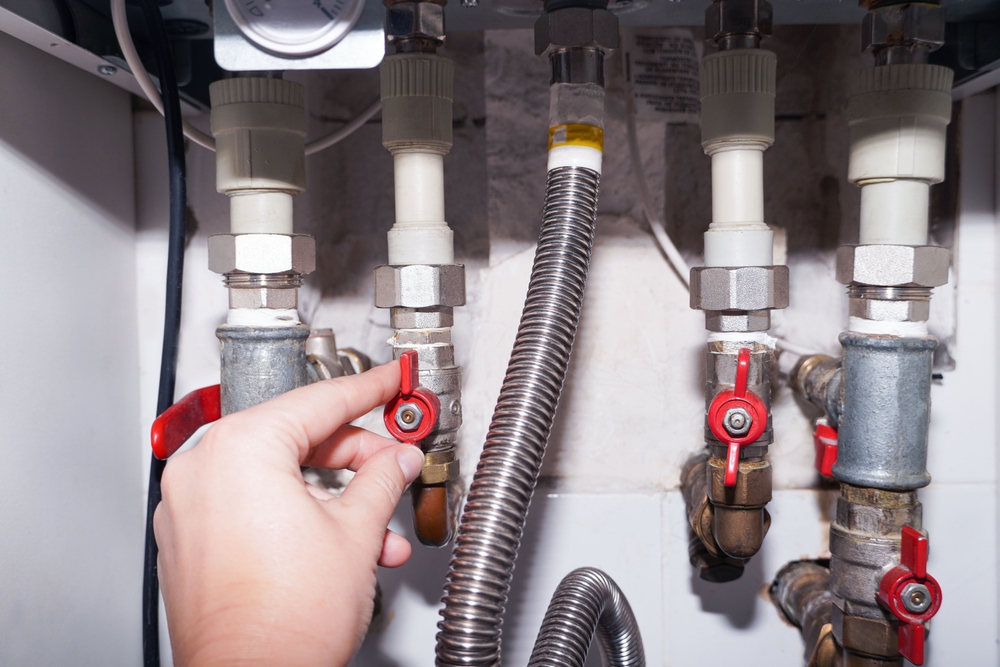
Water quality has a significant impact on plumbing systems, appliances, and daily household activities. Many homeowners in Tucson, AZ experience issues caused by hard water, which contains high levels of dissolved minerals like calcium and magnesium. Over time, these minerals accumulate in pipes, water heaters, and fixtures, reducing efficiency and increasing maintenance costs.
Soft water, on the other hand, is free from excessive minerals, making it more compatible with plumbing systems and household appliances. Understanding the differences between hard and soft water, identifying common signs of hard water, and learning about available water treatment solutions can help homeowners improve water quality and protect their plumbing.
Read the rest of this entry »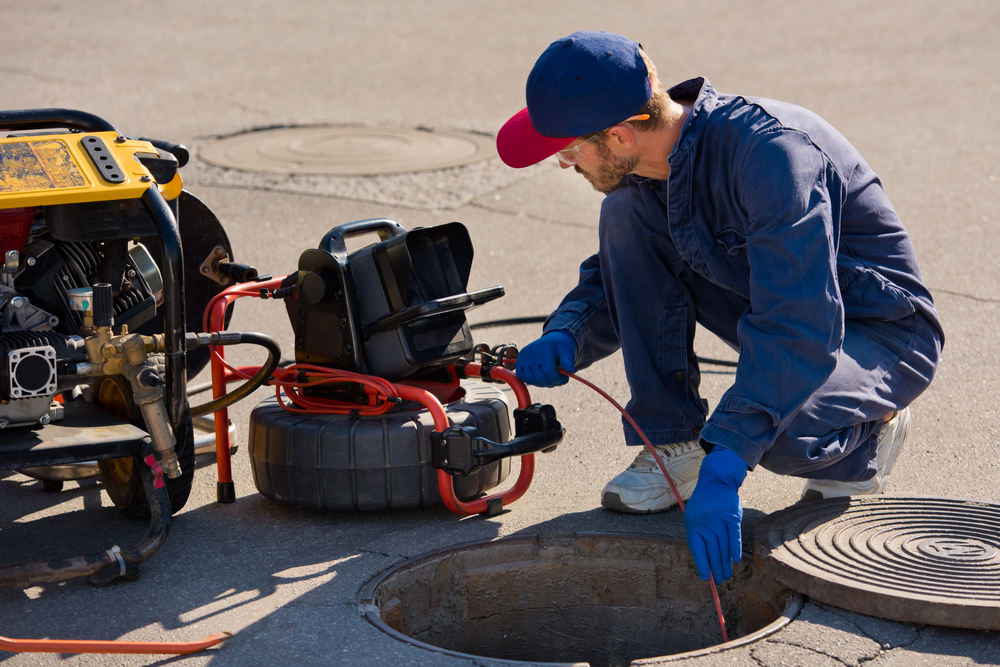
The plumbing industry is undergoing a major transformation with the rise of smart plumbing technology. Homeowners and businesses alike are now integrating Wi-Fi-enabled water heaters, smart leak detection systems, automated shut-off valves, and voice-controlled faucets to enhance water efficiency, reduce waste, and prevent costly plumbing repairs. These advancements not only improve daily convenience but also contribute to sustainability by minimizing water usage and detecting potential issues before they turn into expensive problems.
For homeowners in Tucson, AZ, where water conservation is a priority due to the arid climate, smart plumbing solutions can help reduce water bills and ensure efficient use of resources. In this post, we’ll explore the latest innovations in smart plumbing, their benefits, real-world applications, and how local plumbers in Tucson, AZ can help install and maintain these high-tech systems.
Read the rest of this entry »Hard water is water with excessive mineral deposits that can create limescale. You may not even think about the mineral content of your home’s tap water until you realize its effects on your plumbing system, hair, skin, and health. If you have hard water, you’ll need to find a plumber in Tucson who can help you remedy it to improve your health and tap water and extend the longevity of your plumbing system.
How Hard Water Impacts Your Plumbing and How a Plumber in Tucson Can Help
When left unaddressed, the excess mineral content in your tap water will affect your plumbing system’s operation. All the mineral deposits will begin to build up in the pipes over time, causing reduced water flow and pressure, drainage issues, corrosion, and an increased likelihood of clogs. These mineral deposits can also damage your pipes if left unaddressed.
Since hard water flows through every pipe in your home, it can also affect your appliances. Mineral deposits will accumulate in those pipes and connections, reducing total efficiency. When your appliances aren’t operating at maximum efficiency, you’ll spend more money on water and energy.
Read the rest of this entry »Most people only schedule plumbing services when they have an emergency, like a clogged drain line, pipe leak, or other issue that negatively impacts the peace and function of their homes. However, many homeowners in Tucson, AZ, don’t realize that scheduling preventative plumbing services can save them money in the long term and prevent the need for costly services and repairs over time.
Preventative Plumbing in Tucson, AZ: Save Money with Routine Inspections
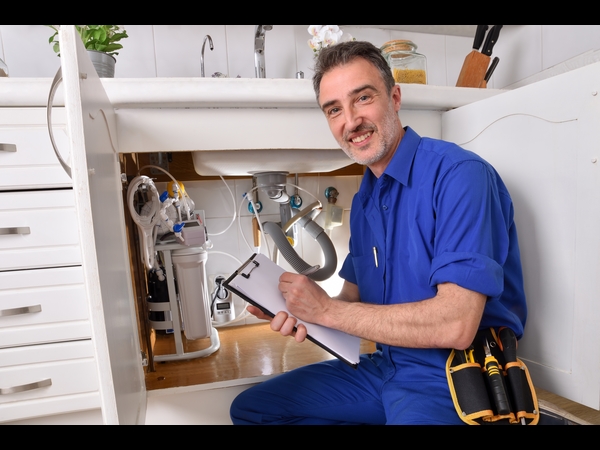
Your home plumbing service system is intricate; it comprises many different pipes, connections, pieces, and drains. Without routine maintenance, any one of these aspects can malfunction, creating a serious inconvenience that disrupts your life, increases your stress levels, and requires costly repairs.
When you schedule routine maintenance, you can mitigate plumbing emergencies and enjoy all the benefits of an efficient plumbing system. At these appointments, an expert plumber will evaluate the various aspects of your plumbing system to ensure its overall efficiency and longevity.
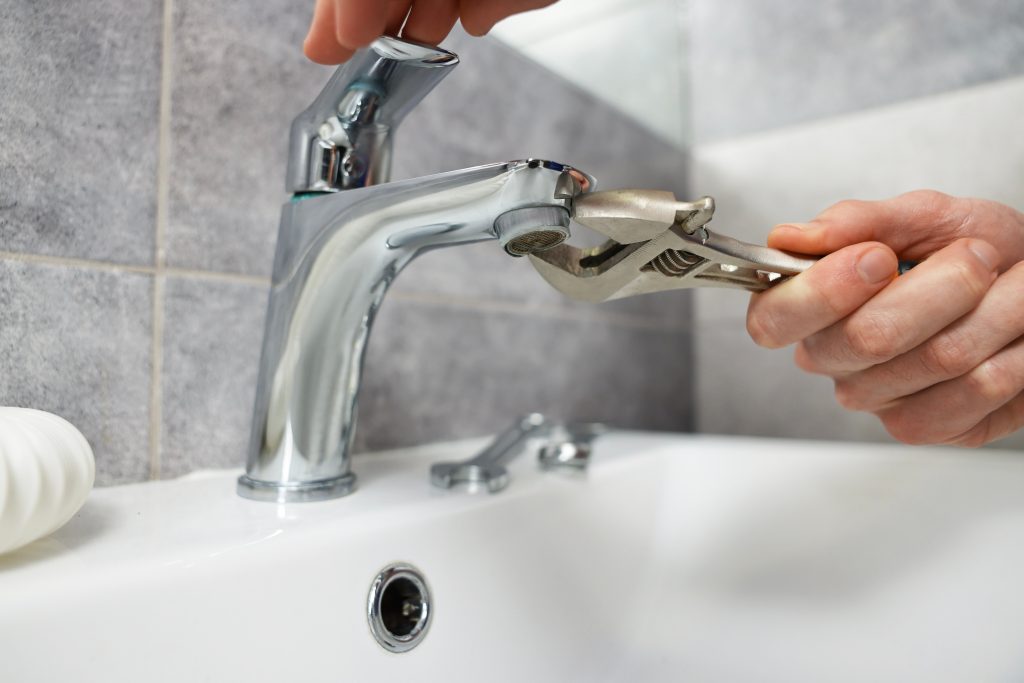
Read the rest of this entry »Your hot water heater is essential to the overall function of your home and the comfort of its inhabitants. If you need a new water heater that’s more efficient, it’s imperative that you schedule water heater installation in Tucson with a company with skilled technicians who have the expertise to help ensure you get the right unit based on your home size, your needs, and your budget.
Water Heater Installation in Tucson: What Homeowners Should Know
There Are Different Water Heater Options To Choose From
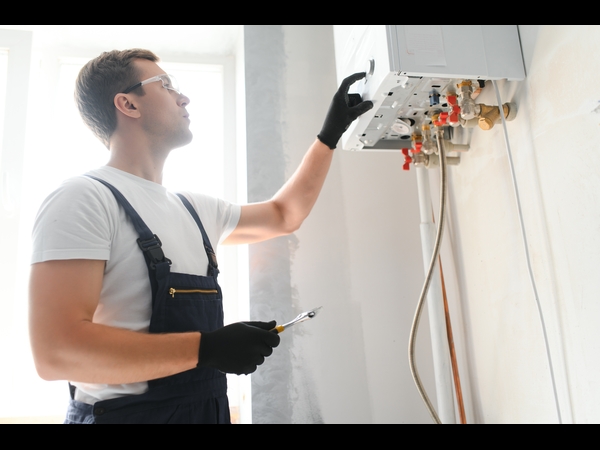
When it comes to water heater installation, you have options. You can choose from a traditional water heater with a tank or a tankless option. A professional plumbing company will help you make the right choice based on your budget, home, water usage, and space.
Tankless water heaters are popular because they’re energy-efficient, small, and work quickly. Additionally, if you’re switching from a traditional water heater to a tankless option, you can move the equipment location since tankless water heaters require less space than traditional models.
Read the rest of this entry »When you face a plumbing emergency, you need to know exactly who to call so the right team of experts can come and address the issue to protect your home from significant damage. If you’re searching for emergency plumbing services in Tucson, AZ, you need to know what to look for so you can choose the right company, have the best experience and ensure a rapid response time and quality, efficient work at the best price.
Choosing the Right Emergency Plumbing Services in Tucson, AZ: A Guide
Look for a Company That Offers Emergency Services
Though it may seem obvious, you should always look for a company that advertises the fact that they offer emergency services. That way, you’ll know that they’ll have plumbers available 24 hours a day, seven days a week.
The plumbers will be available to come to your home to address the issue day or night, make the necessary repairs, and restore your home and plumbing system to working order. Some services to look for include prompt pipe burst repair, malfunctioning water heater repair, and plumbing leak detection, diagnosis, and repair, among others.
Read the rest of this entry »Connect with us


- July 2026
- June 2026
- May 2026
- April 2026
- March 2026
- January 2026
- December 2025
- July 2025
- June 2025
- May 2025
- April 2025
- March 2025
- February 2025
- January 2025
- December 2024
- November 2024
- October 2024
- September 2024
- July 2024
- June 2024
- May 2024
- April 2024
- March 2024
- February 2024
- January 2024
- May 2023
- April 2023
- March 2023
- February 2023
- January 2023
- December 2022
- November 2022
- October 2022
- September 2022
- August 2022
- July 2022
- June 2022
- April 2022
- March 2022
- February 2022
- January 2022
- December 2021
- November 2021
- October 2021
- September 2021
- August 2021
- July 2021
- June 2021
- May 2021
- April 2021
- March 2021
- February 2021
- January 2021
- November 2020
- October 2020
- September 2020
- August 2020
- July 2020
- June 2020
- May 2020
- April 2020
- March 2020
- February 2020
- January 2020
- October 2019
- September 2019
- July 2019
Archives
- Drain Cleaning
- Eco-Friendly Plumbing
- Economy Plumbing Service, LLC Service
- Emergency Plumbing Services
- Hard Water
- Hydrojetting
- Pipe Insulation
- Pipe Repair
- Plumbing Fixtures
- Plumbing Inspections
- Plumbing Installation
- Plumbing Maintenance
- Plumbing Repair
- Plumbing Services
- Repiping
- Sewer Line
- Uncategorized
- Water Heater Installation
- Water Heaters
- Water Line Replacement
- Water Pressure